Column and Rows
Introduction:
When you first open a worksheet the columns and rows are addressed (shown) using letters for column headings and numbers for row headings. This may seem odd, but Excel provides you with over 50 billion cells on a single worksheet to provide the ultimate spreadsheet experience.
Adjusting the width and height of cells occurs through the editing of the column and row sizes. This is typically done so that you can provide more space for data, have different sized fonts, and customize the look and feel of your worksheets.
Learning:
Column and Row Headings
The column and row headings are how cells are addressed in worksheets. The headings for columns use letters and go from A to Z then AA, AB, AC, …, AZ, BA, BB, … and continue a lettering sequence that ends with XFD providing just over 16,000 columns!
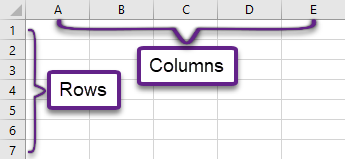
Similarly, rows begin with 1 and end just over 1 million. The use of column and row headings gives the Excel user the ability to address (provide a cell reference) to any of the 17+ billion cells in a worksheet.
Column and Row Sizing
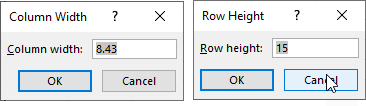
A new worksheet shows columns and rows in a standard width and height. Typically, columns are 8.47 characters wide and rows are 14.30 points high. The characters and point sizes may differ depending on the device and screen resolution of your computer.
Adjusting column and row sizing are different in that Excel will auto-adjust the row height to accommodate larger font sizes automatically, whereas column widths remain rigid and require manually adjusting. Adjusting columns and row widths can be done in a few ways, manually adjusting them, or using the AutoFit command action.
As with most Excel tasks, there are multiple approaches to access and adjust the Column Width. The first method described is Autofit. AutoFit allows you to easily adjust columns or rows to fit the contents of a cell. AutoFit used on a single column requires the user to place the cursor on the edge of the column until the pointer turns to a double black arrow (1 left pointing arrow and 1 right pointing arrow coming from a vertical line) and then double clicking with your left mouse. This action will automatically adjust column widths and row heights to fit the contents but it is important to remember that cells contain a large amount of text will expand to fit the content, which may make worksheets difficult to use. In those circumstances, manually adjusting columns is a more preferred method.
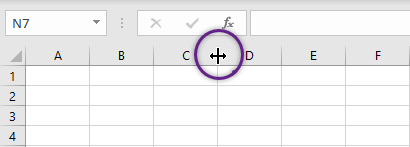
A second method, very similar to Autofit, is to manually adjust the columns width or row height. Move your cursor again between the column labels (or row labels) to get the double black arrow but instead of double clicking when the cursor turns to a double arrow, you left click and drag the column or row to the desired width or height.
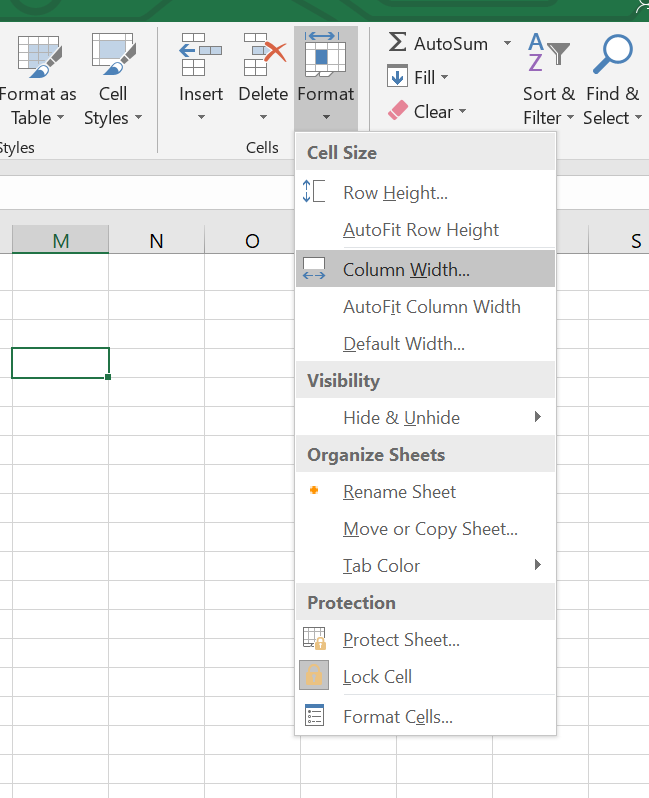
An alternative method to adjusting row height or column width is to use the Format menu option on the Home tab. Select the column (or row) you wish to adjust, then on the Home tab, select the Format menu dropdown and choose the option to adjust.
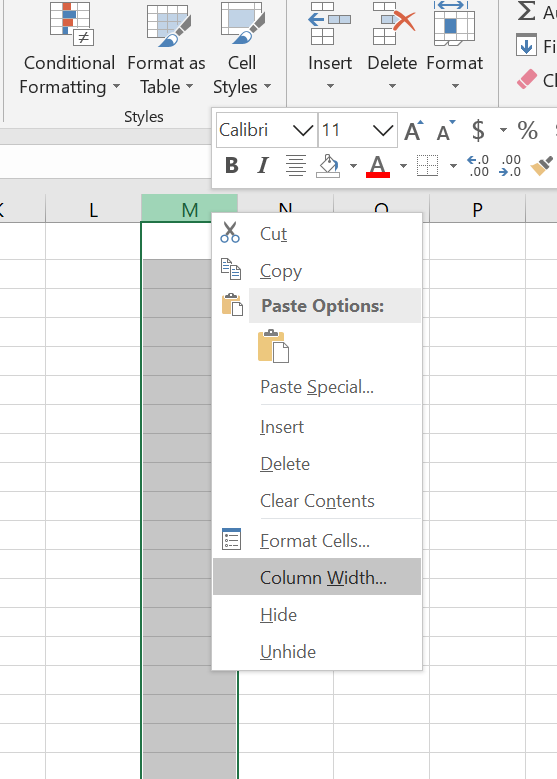
Another way to manually adjust the column and rows is to right click the column header (letter) or row header (number) and adjust the point or character size.
Summary:
Understanding how to address a cell in Excel is an important task to master, especially given the quantity of cells that are provided in a single worksheet. Equally, the adjustment of columns and rows provides greater flexibility in working with and presenting data professionally. Column and row sizing can be completed in multiple fashions and is one of the primary tasks that is used continuously in Excel as all data is not the same size and may require cell adjusting.
Sources:
IDM