Screencast-o-Matic: Uploading Videos to Canvas
The following guide will show you how to create and upload a video recording to Canvas
1. Hit REPLY on the discussion post where you wish to post a response

2. In the editing bar at the top of the discussion box, select the blue and white icon that looks similar to a bull’s eye
3. Now seeing the screencast-o-Matic menu, select NEW RECORDING

4. Now the program will launch. If prompted, select ALLOW or OK to continue

5. When completely opened, a RECORD screen will appear with options on how to record your sessions
-
- SCREEN: the program will record whatever you are doing on your screen
- WEBCAM: the program will start your webcam and record you
- BOTH: the program will record you and the screen as you work

6. Select your preferences before you begin:
SIZE:
- 480p will record 480-pixel size, the smallest available
- 720p: records 720-pixel size, a medium size
- Active Window: records the active window you are working in if more than one screen
- Full Screen: records the entire computer screen you are working in
NARRATION:
- You have the option to record narration with the default microphone, a microphone you may have plugged in, or of having no microphone on at all. The default is standard.
COMPUTER AUDIO:
- This asks if you want the sounds from the computer to be in the recording too.

7. Once your preferences are set, press the red RECORD button located at the bottom of the screen

8. When you hit RECORD, a timer will count down and the recording starts

9. Now, your screen is actively being recorded

10. Once your recording is complete, select the PAUSE button

11. Now, on the bottom of the screen, you can see the length of the recording, you can delete the recording, or you can select DONE

12. Once hitting DONE, you can:
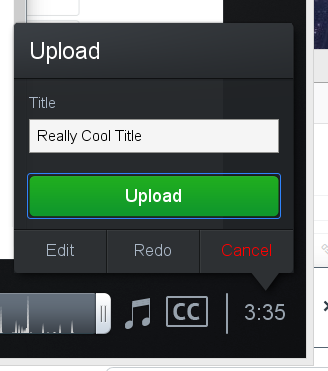
SAVE AND UPLOAD: In the lower right-hand box titled UPLOAD, name the video and hit the green button UPLOAD
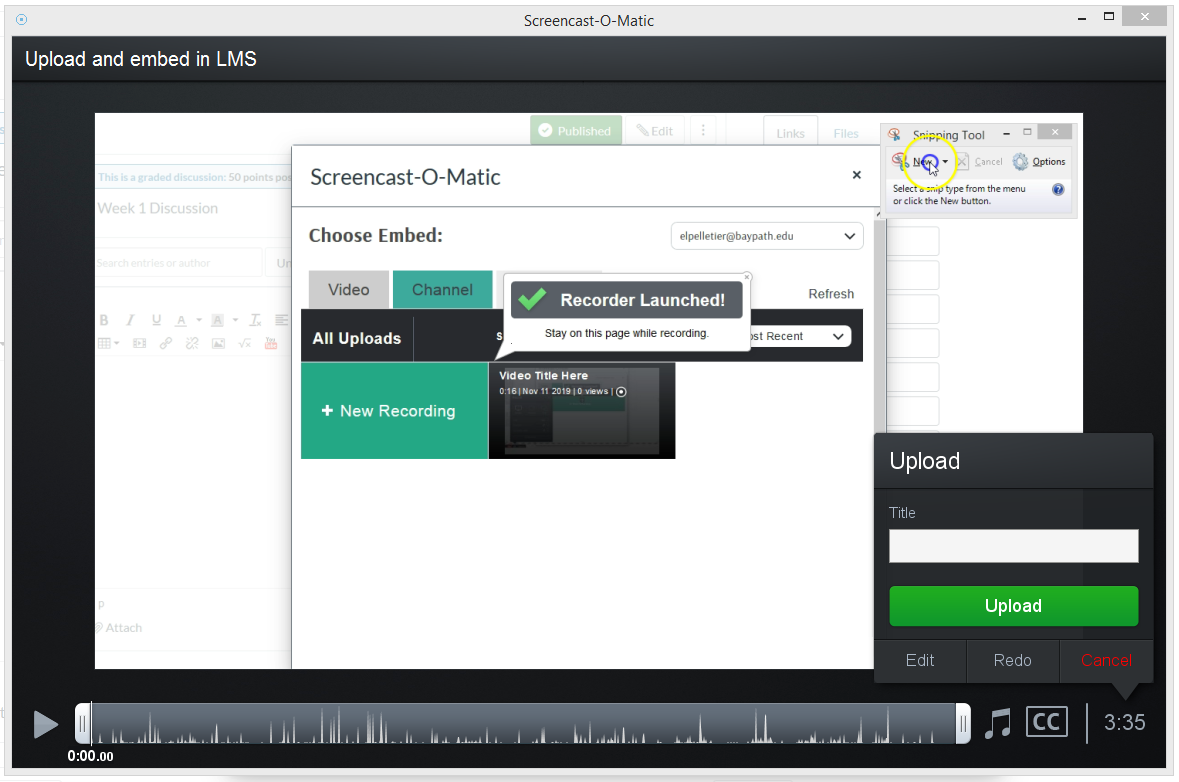
13. This is where that really cool title goes…
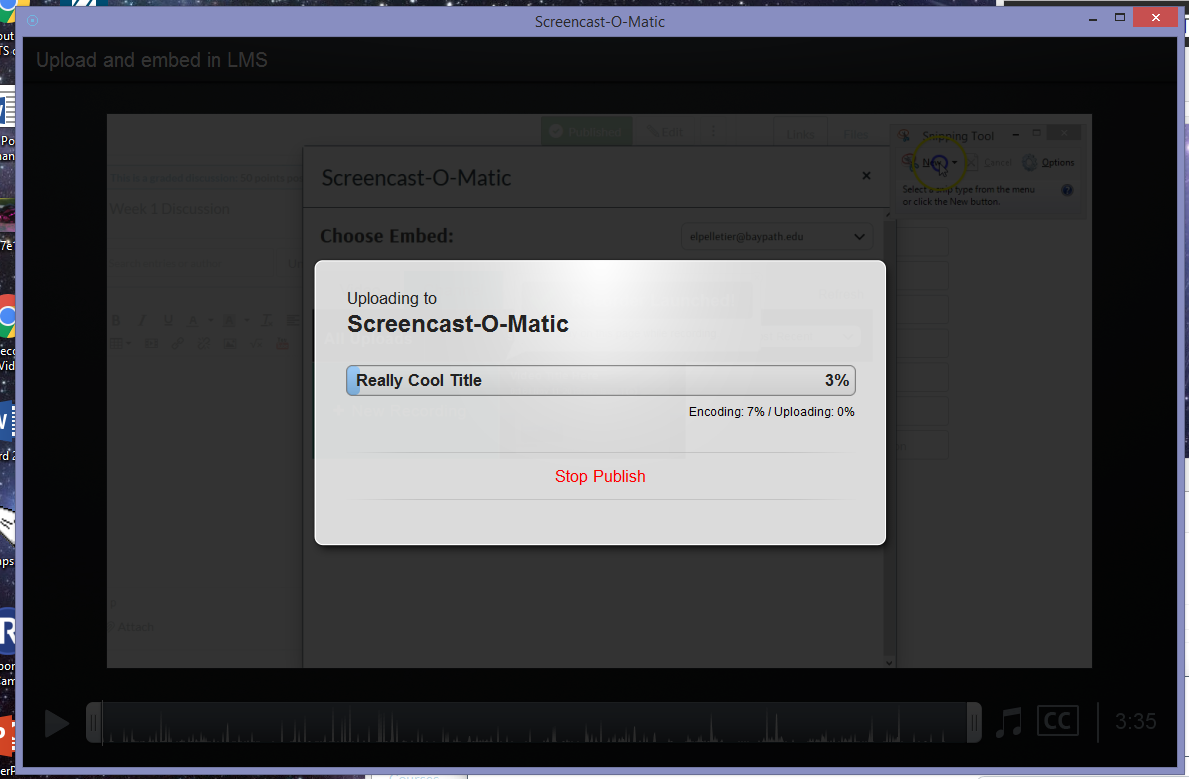
14. Now the video is being uploaded to Canvas. If you have issues with this step, it is advised that you check your internet connection and/or the file size.
15. Select CONTINUE to upload your video…
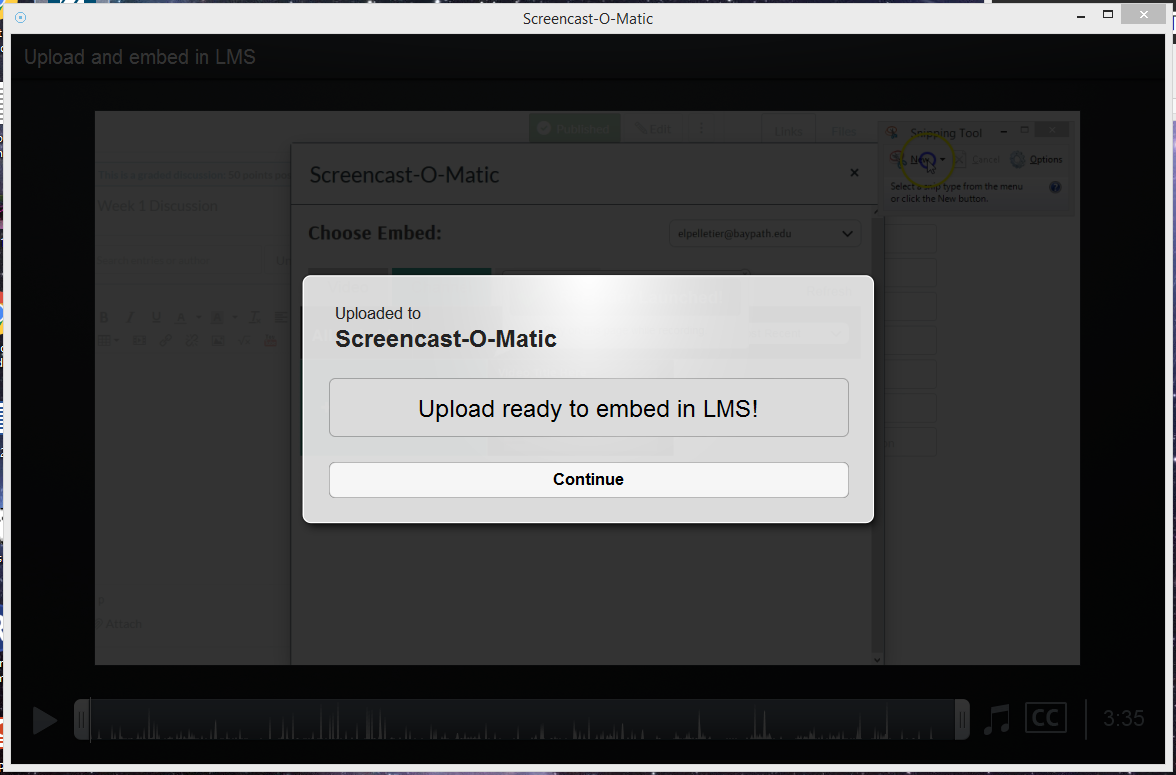
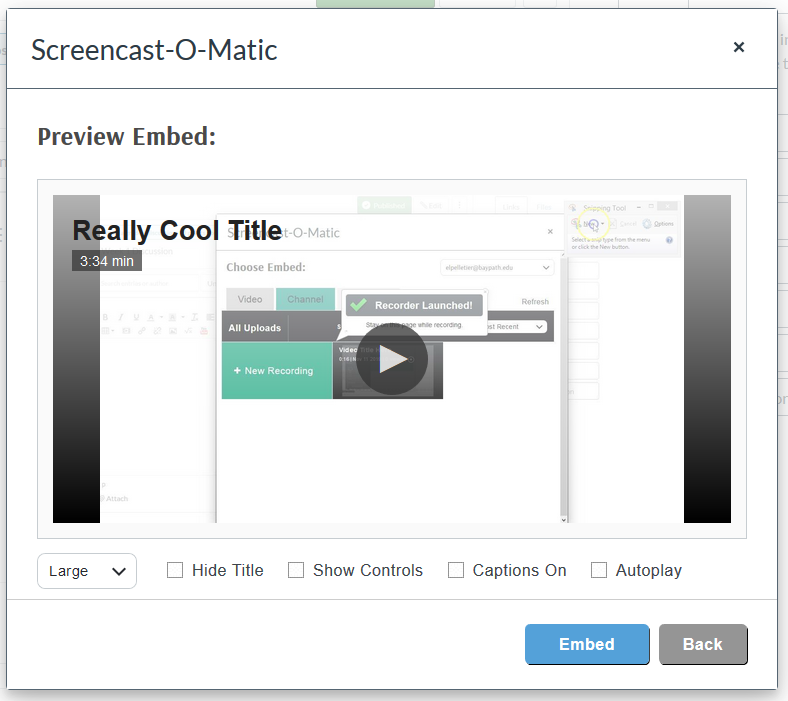
16. Now, your video is ready; press, EMBED.
Additional Options:
- HIDE TITLE: so the title does not show over recording
- SHOW CONTROLS: gives the viewer player options
- CAPTIONS ON: will populate suggested captions on the video
- AUTOPLAY: allows the video to start once the page is loaded
Select EMBED when complete
17. Now, your video is populated in the discussion. POST REPLY.
18. If you select QUICK SHARE, a box will appear in the top right corner of the screen. Here, you can copy a link to the video you created.
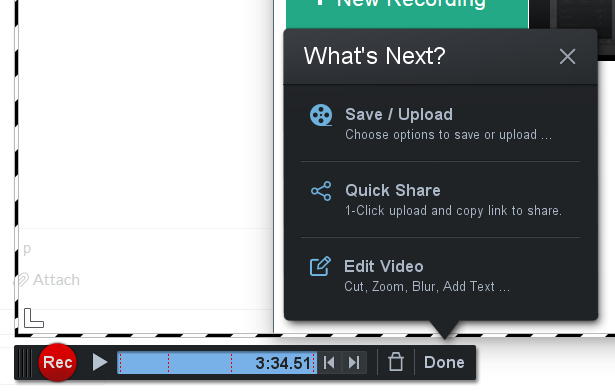
19. EDIT VIDEO will give you options on purchasing upgrades for video editing. Please note that these are not necessary for your video creations at Bay Path, the free version is acceptable.
