Backwards Design

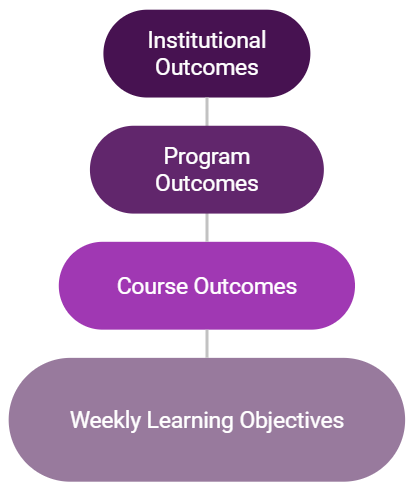
When you begin your design project, always keep in mind the principles of backwards design. Ensure that your Program Outcomes, Course Outcomes, and Weekly Learning Objectives are aligned with each other as well as with the assessments and learning materials in the course.
The key to backwards design and alignment is to start with the finished product in mind—the outcome the student will demonstrate—and design backwards from that point. The purpose of this approach is to make sure that every instructional decision for the learning experience contributes directly to the desired student learning outcomes. Backwards design is used throughout a program, courses within that program, and assessments and content used within courses. Each layer is a building block to help ensure that students are achieving program level and institutional outcomes by the conclusion of their academic journey at Bay Path.
No matter what type of development or edits you are doing in a course, it is important to ensure that the alignment of all outcomes, assessments, and materials remains intact or is adjusted adequately to reflect the new design of the course.
The three primary steps of backwards design include 1) identifying desired results 2) determining acceptable evidence (creating assessments) and 3) planning the learning activities and materials.
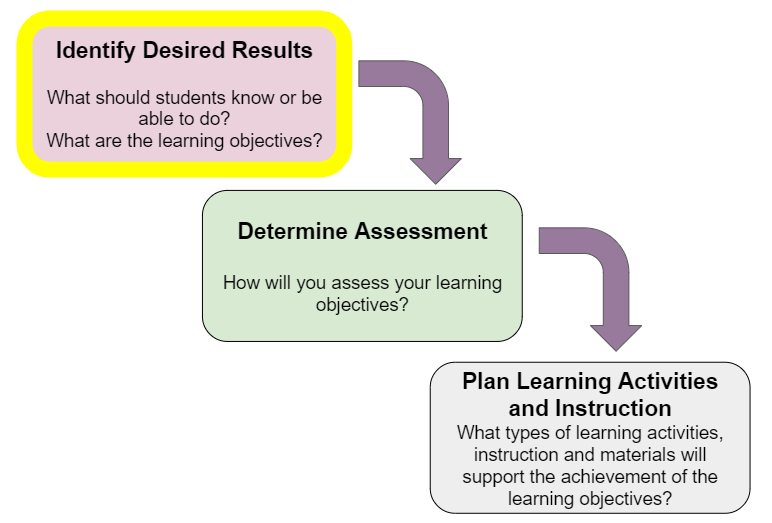
This chapter will provide a detailed overview of the first step in backwards design: Identify Desired Results.
- Stephen R. Covey (2004). “The 7 Habits of Highly Effective People: Powerful Lessons in Personal Change”, p.98, Simon and Schuster. ↵