Chapter 3
Section 3.4 – Preparing to Print
Learning Objectives
- Review each worksheet in a workbook in Print Preview.
- Modify worksheets as needed to professionally print data and charts
In this section we will look at each of the worksheets created in the previous sections. Since these worksheets contain a combination of data and charts, there are specific things to watch for if you will be printing the sheets.
We will start by looking at each worksheet in Print Preview in Backstage View. We will then make any changes necessary, such as changing the orientation and scaling, or moving charts around on the worksheet. To make sure we do not miss any worksheets, we are going to review the worksheets in the order they appear in the tabs.
Previewing Chart Sheets for Printing
Data file: Continue with CH3.2
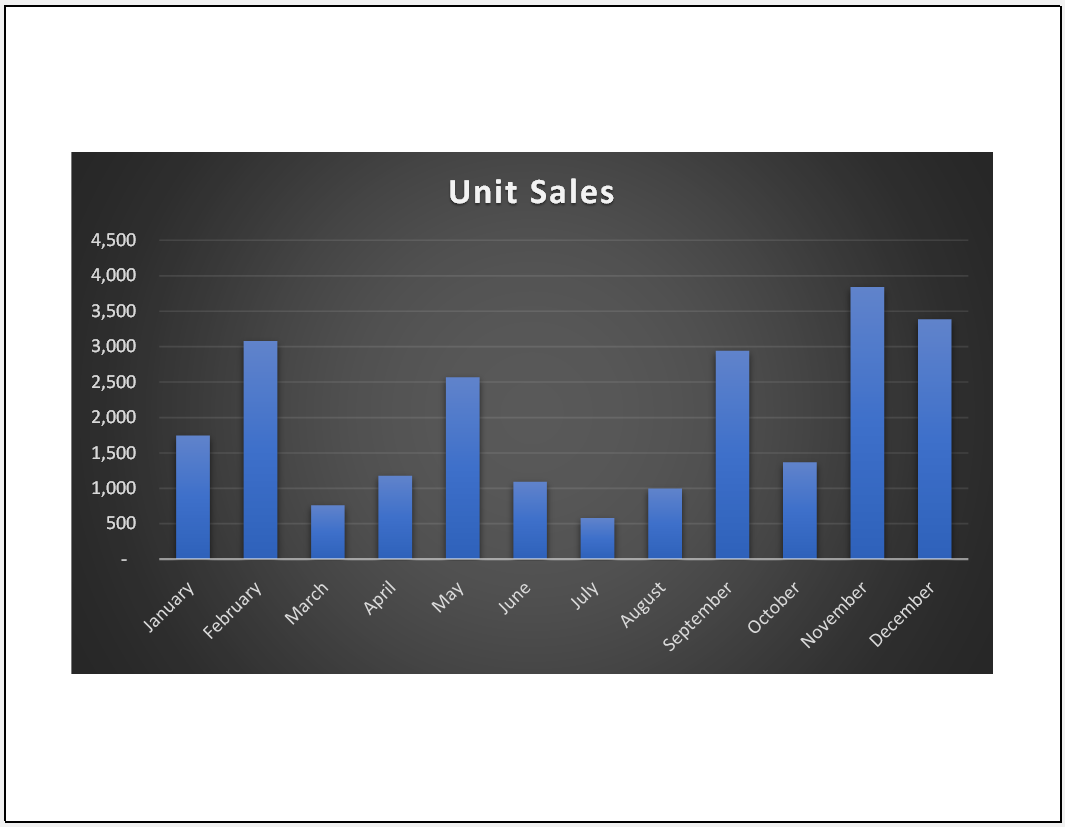
The first worksheet, Jan-June Unit Sales, is a chart sheet. This means that it does not contain any data; remember that chart sheets just contain charts. We still need to review it in Print Preview.
- Click on the Jan-June Unit Sales worksheet tab.
- Go to Print Preview by clicking Print in Backstage View.
- Notice that the chart will print on the entire page, in Landscape orientation.
- There is nothing to change. Exit Backstage View.
Printing Worksheets with Data and Charts
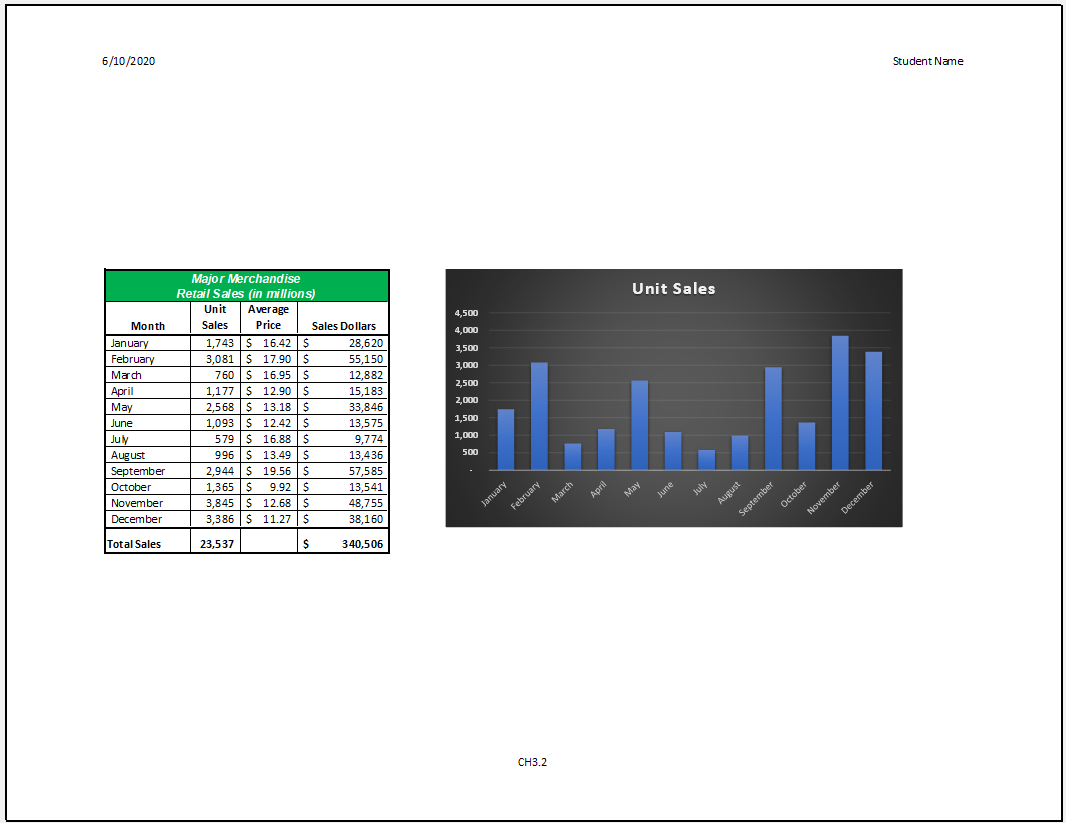
The next worksheet Sales by Month has a lot of data and a chart. We need to print the data and the chart, which will require some modifications of the page setup.
- Click on the Sales by Month worksheet tab.
- Go to Print Preview by clicking Print in Backstage View.
- Notice that this worksheet is currently printing on two (2) pages.
The chart is still split between pages 1 and 2. The first step we will try to fix these issues is to change the page orientation and scaling.
- While still in Backstage View, change the page orientation to Landscape (use the Orientation drop-down menu in the Settings section).
- This did not get the chart to show up on one sheet.
The next thing we will try is looking at the Page Break Preview to see if we can fix the issue with the chart printing on two sheets. To view the worksheet in Page Break Preview, we need to exit out of Backstage View.
- Exit Backstage View.
- Switch to the View tab on the Ribbon and then select Page Break Preview. Your screen should look like Figure 3.24. (Remember that the dotted blue lines indicate automatic page breaks.)

- Because we cannot move the chart sheet and most of it is showing on our worksheet, we need to return to Backstage View to change the page scaling.
- On the View tab of the Ribbon, click the Normal button to return to the normal view of Excel.
- Click the File Tab and choose Print to see print settings.
- From the Settings menu change the page scaling to Fit Sheet on One Page (use the Scaling drop-down menu in the Settings section).
- This fits everything on one page.
- Exit Backstage View.
We now need to enter a Header and Footer to our Sales by Month worksheet.
- Using the skills you learned in the past two weeks add a Header that includes the Date on the left and Your Name on the right.
- Add a Footer that displays the File Name in the middle section.
- Return to Backstage View and review your Print Preview, which should look like Figure 3.25.
Printing a Chart Only
Sometimes you might have a worksheet that has data and an embedded chart, but you only want the chart to print. That is the case with the Sales by Month worksheet.
- Switch to the Sales by Month worksheet.
- Select the chart.
- Go to Print Preview. Only the chart is printing (see Figure 3.26). (If it shows the data printing along with the chart, exit Backstage View and be sure to select just the chart on the worksheet.)
- If needed, change the orientation to Landscape. This orientation looks better when printing just a chart.
- Exit Backstage View.