Chapter 6
Section 6.3 – Preparing to Print
Learning Objectives
- Review the process of printing an embedded chart without printing the data on the same worksheet.
- Enhancing the appearance of a worksheet by inserting images.
Sometimes you might have a worksheet that has data and a chart, but you only want the chart to print.
Continue using FILE: CH 6.2
Printing an Embedded Chart: Review
Follow these steps to print:
- On the Grade Distribution worksheet, select the chart.
- Go to Print Preview. Only the chart is printing. (If it shows the data printing along with the chart, exit Backstage View and be sure to select just the chart on the worksheet.)
- If needed, change the orientation to Landscape. This orientation looks better when printing just a chart.
- Exit Backstage View.
Inserting an Image to Enhance a Worksheet
Next you are going to add a small school-related graphic to the worksheet to enhance its appearance. In Excel you can either insert an image file that you have saved, or you can search for one online within Excel. For this exercise you are going to choose your own from Online Pictures to insert into the chart.
- Click the Insert tab on the ribbon.
- Click the Pictures button from the Illustrations group. (This allows you to insert an image you have saved. If you wanted to search for an image online, you would click the Online Pictures button.) (See Figure 6.21.)
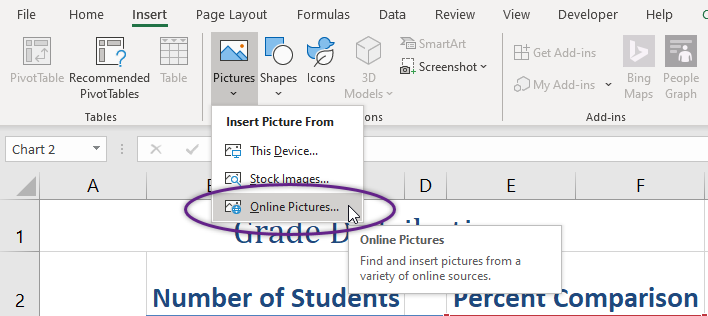
- Navigate to Online Pictures and search for an image to insert.
The image now appears on your worksheet, but not in the location you want. It is also slightly larger than you would like. (See Figure 6.22.) You are going to move the image to cell E1, then resize it so it does not cover up part of the table.

- Place your pointer in the image so that the
 appears. Drag the image to where you want it to be placed.
 - Using the resizing handle in the bottom right corner of the image, resize the image so that it does not cover any of the table. Hint: drag diagonally to the left and up.
- Check Print Preview again to make sure the worksheet with the image added looks good.
- Exit Backstage View and save the Excel file.
