Chapter 5
Section 5.1 – Multiple Sheet Basics
Learning Objectives
- Navigating through a multiple sheet file.
- Adding, deleting, copying, and moving sheets.
- Grouping and ungrouping sheets.
Throughout our textbook, we have worked with Excel files that have included multiple sheets. Depending on the version of Excel you are using, a new Excel file starts with several sheets. In this chapter, we will be working with a personal budget file that contains income and expenses for an entire year. Our file contains a sheet for each month of the year, as well as, a Summary sheet that will add all twelve-monthly sheets of data together. To begin with, we will get comfortable with moving through the sheets, organizing them, and making sure that all twelve-monthly sheets are consistent.
Download and open FILE: CH 5.1
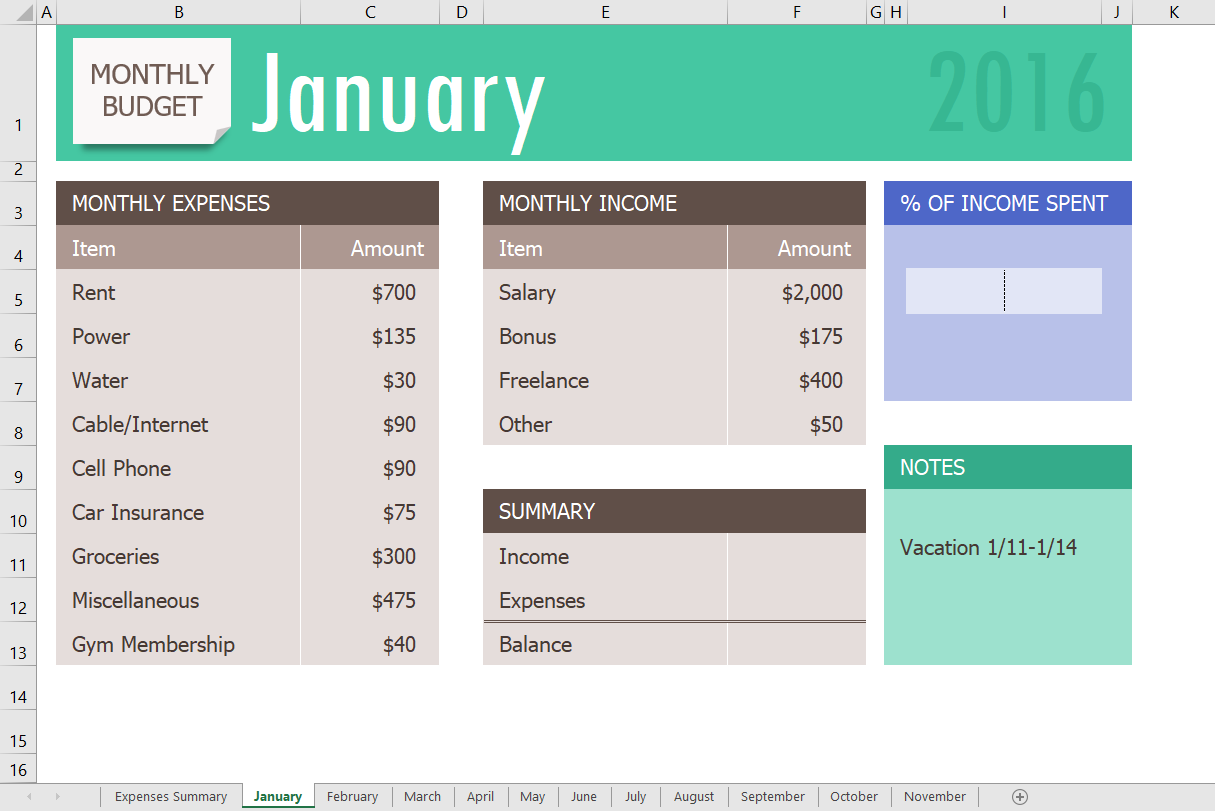
Figure 5.1 shows the January sheet in the Personal Budget file along with all the sheet tabs along the bottom of the window.
Navigating Through a Multiple Sheet File
- Open the data file CH 5.1 and save the file to your computer as CH 5.1 Personal Budget. Notice that the file has a Expenses Summary sheet at the far left followed by monthly sheets.
- Click on the different sheets at the bottom of the screen to move through the sheets. Notice that the Expenses Summary sheet is formatted differently from the monthly sheets. Notice also that all the monthly sheets are identical in layout and format.
- Take a second look at the months at the end of the year. Not all the data has been entered for September through October… and there is no sheet for December. We will enter the remaining data and add an additional sheet for December.
- Add the following data in the September, October, and November sheets:
|
|
September |
October |
November |
|
Power |
$135 |
$135 |
$135 |
|
Water |
$30 |
$30 |
$30 |
|
Groceries |
$300 |
$325 |
$400 |
|
Miscellaneous |
$100 |
$50 |
$100 |
|
Bonus |
|
|
|
|
Freelance |
$500 |
|
$150 |
|
Other |
|
$100 |
|
Copying a Sheet
- To make a December sheet, we are going to copy the November sheet.
- Point your mouse at the November sheet tab at the bottom of the screen.
- Hold down your left mouse button and then press and hold down the CTRL key.
- At this point, you will see a black down-pointing arrow to the left of the November sheet tab and your mouse cursor will become a small piece of paper with a plus sign on it.
- Drag your mouse to the right (still holding down the left-mouse button and the CTRL key) until the black down-pointing arrow is to the right of the November sheet tab.
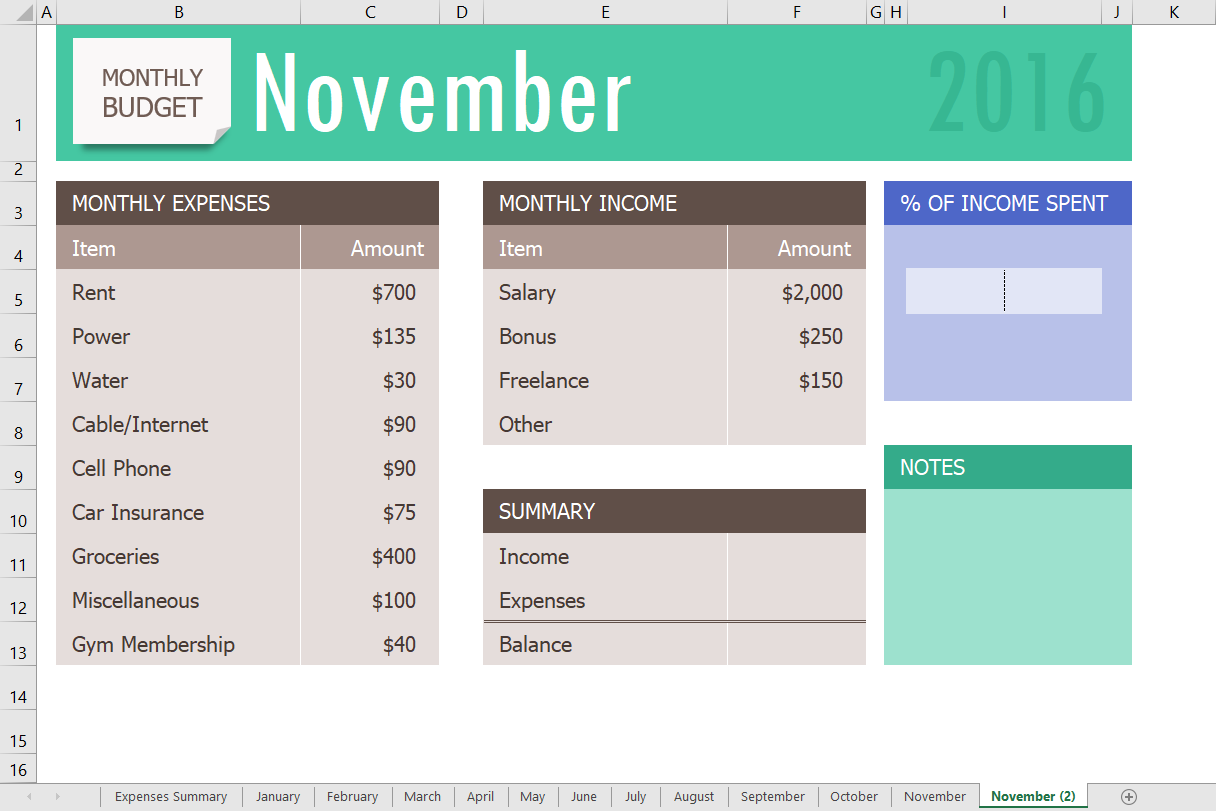
- Let go of the mouse button and then the CTRL key. You should now have a November (2) sheet to the right of the November sheet as shown in Figure 5.2.
Next, we will update the November (2) sheet to turn it into our December sheet.
- Right-click on the November (2) sheet name at the bottom of the screen and choose Rename.
- Type “December” and press Enter.
- Click on the December sheet.
- Click on B1 and change “November” to “December”.
- Make the following data changes:
- Miscellaneous: $300
- Bonus: $250 (it is the holidays!)
- Freelance: delete amount
- Save your work.
- Point your mouse at the December sheet tab at the bottom of the screen.
- Hold down your left mouse button and then press and hold down the CTRL key.
- Drag your mouse to the right (still holding down the left-mouse button and the CTRL key) until the black down-pointing arrow is to the right of the December sheet.
- Let go of the mouse button and then the CTRL key. You should now have a December (2) sheet to the right of the December sheet.
- Rename the December(2) sheet Practice.
Skill Refresher
Copying a Sheet:
- Point your mouse at the sheet you want to copy at the bottom of the screen.
- Hold down your left mouse button and then press and hold down the CTRL key.
- Drag your mouse to the right (still holding down the left-mouse button and the CTRL key) until the black down-pointing arrow is to the right of your existing sheet.
- Let go of the mouse button and then the CTRL key. You should now have a Sheetname (2) to the right of the original sheet.
- Rename the Sheetname (2) sheet as desired.
Moving and Deleting Sheets
Sometimes your sheets do not end up in the right order, and you need to move them to fix this. Let us try moving our “Practice” sheet to see how this is done.
- Point to the Practice sheet and hold down your left mouse button.
- Notice this time that there is still a black arrow to the left of the Practice sheet, but the piece of paper is blank. It does not have a plus sign (+) because we are moving, instead of copying, the sheet.
- Left-drag the mouse to the right until the black arrow marker is between the October and November sheets.
- Release the mouse button.
- Try moving the Practice sheet back to the right of the December sheet.
Since our Practice sheet is not a sheet, we will need in our Budget file, we will go ahead and delete it now.
- Right-click on the Practice sheet tab at the bottom of the screen.
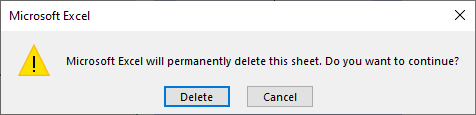
- Click Delete. Figure 6.3 shows the warning message box that will appear on your screen. Your message box might look slightly different depending on the version of Excel you are using. It is important to note that you cannot Undo once you delete a sheet!
- Click Delete.
Key Takeaways
- You can easily move, copy, delete, and rename sheets in your Excel file.
